If you need to edit your DNS records for a website or service hosted on Hosting Australia's servers, please follow the below steps.
Adding Google Verification to Your DNS via cPanel
To do this, follow the below steps:
IMPORTANT - The below steps can affect the loading of your site and/or emails, please be careful and if not sure, it is better to request your IT provider or Hosting Australia assist. Support fees may apply.
First, you will need to have access to your cPanel. If you are not sure how to access your cPanel CLICK HERE.
- Locate the DOMAINS category and then click on the ZONE EDITOR option.

- On the ZONE EDITOR page, click on MANAGE. You can also choose to quick add an A, MX or CNAME
record from this page
This page will show all the current records.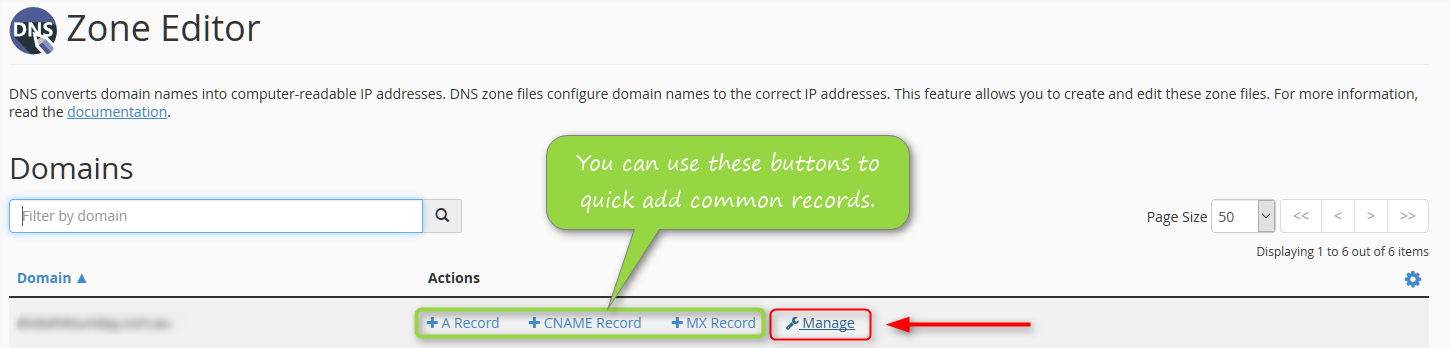
- To add a new record, click on the "+ ADD RECORD" button, from the drop-down, select the type of record
you wish to add, for example, a TXT record is used for Google and some SSL certificate verification
- You will then be presented with a window, here you will enter your domain name into the first box, set
the time to live (TTL) as 900 and the record type to TXT.
If you wish to EDIT a record, simply choose the record you wish to Edit and click the "EDIT" link, as shown
in the right-hand column of step 4.
Now all that is left for you to do is to enter your custom DNS record provided by google into the 4th
box, this should be copy and pasted to ensure it is accurate. Once done, just click add record.
DNS record changes can take from 1-4 hours to complete. A reboot of your DSL modem and PC approximately 15 minutes after making the change can assist in speeding this process up.
