To enable Wordpress automatic updates, please follow the below instructions.
- Login to the cPanel of the account you wish to enable Auto Updates for. (If you dont know your cPanel details, you can find instructions on how to reset here)
- Scroll to the bottom of the cPanel page, and you will find a section titled "WordPress Manager by Softaculous"
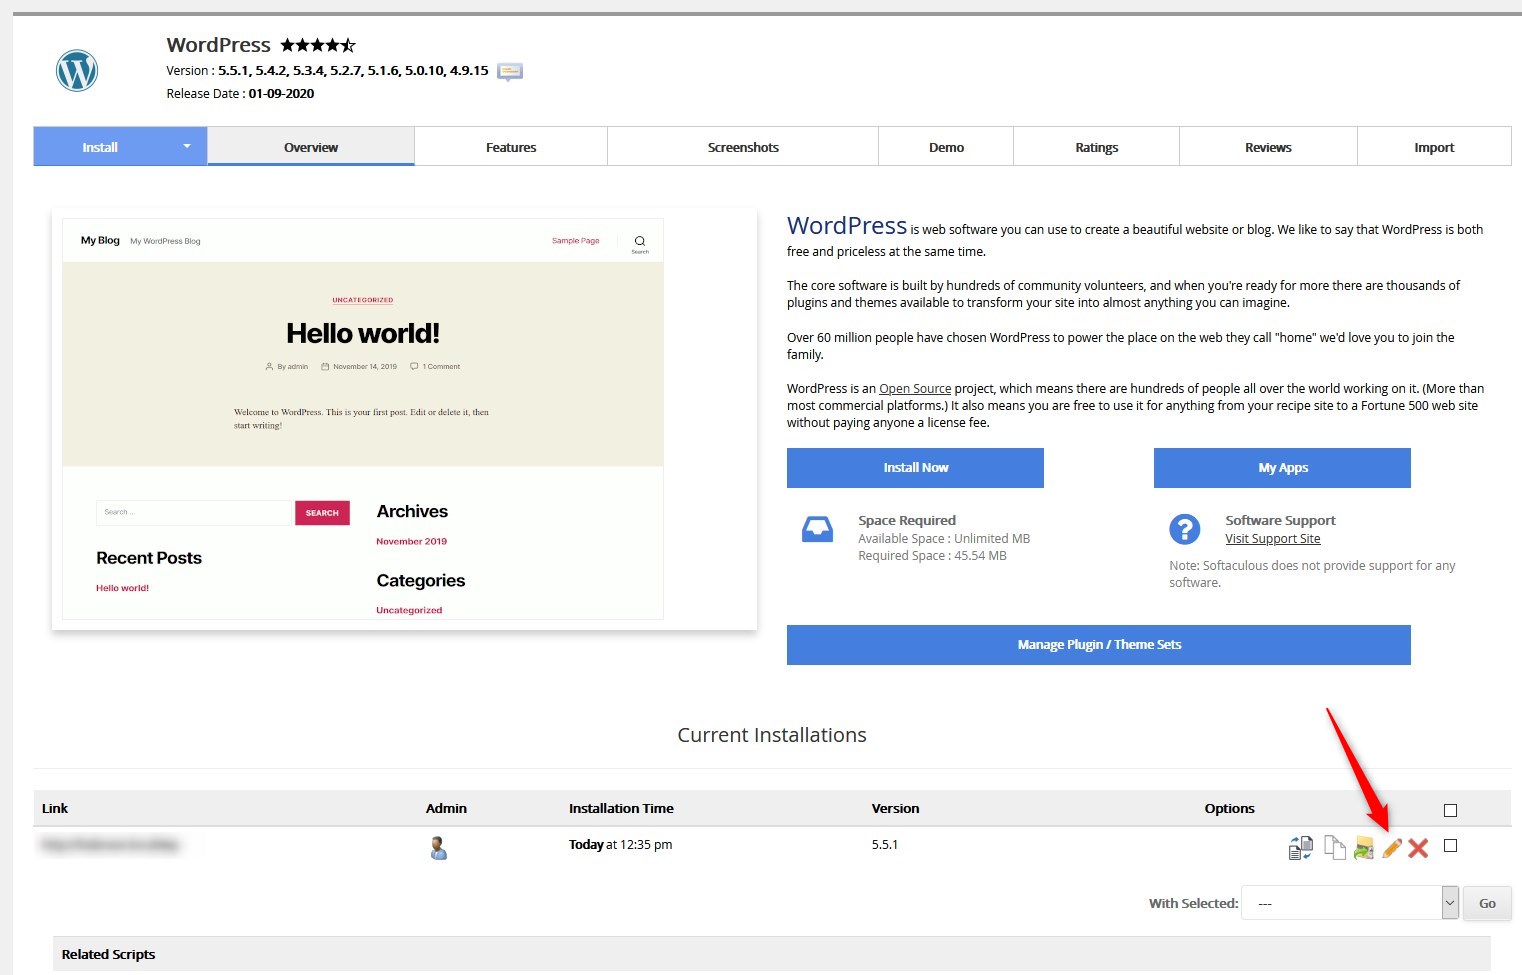
- You will see a list of your current WordPress installations, click the EDIT icon next to the installation you wish to change settings for, see below. (Please note - only WordPress installs added using the Hosting Australia Quick Installer will be presented on this page).
- Under the Installation details page, you will see 3 options for Auto Upgrades, see below image:
1 - AUTO UPGRADE: This updates the WordPress core files
2 - AUTO UPGRADE WORDPRESS PLUGINS: This will update plugins on your site. Licensed plugins will need an active license to be upgraded.
4 - AUTO UPGRADE THEME: This will update the WordPress Theme. Please take care when selecting this option, in particular if you have a customised theme.
- Scroll to the bottom and click "Save Installation Details"
NOTE - Please be careful when enabling auto-updates for Themes, especially if you have customised any CSS or template files, as it can break the site.
Any issues that do arise due to auto updates, are not covered by Hosting Australia's standard support and will generally be chargeable fix if required.
