Before you can add your account, you must first ensure that you have your password.
You can use Webmail to check your password. To access your webmail, go to webmail.[YOURDOMAIN].com.au, for example, webmail.hosting-australia.com.
If you are unsure of your password, please reset it through cPanel. reset your password via cPanel
PLEASE NOTE - Because there are multiple phone types/versions, there will be a $75 charge if you are unable to follow this step-by-step guide and require additional assistance from our support team.
- Select the Settings icon on your iPad or iPhone, it will look like the below:

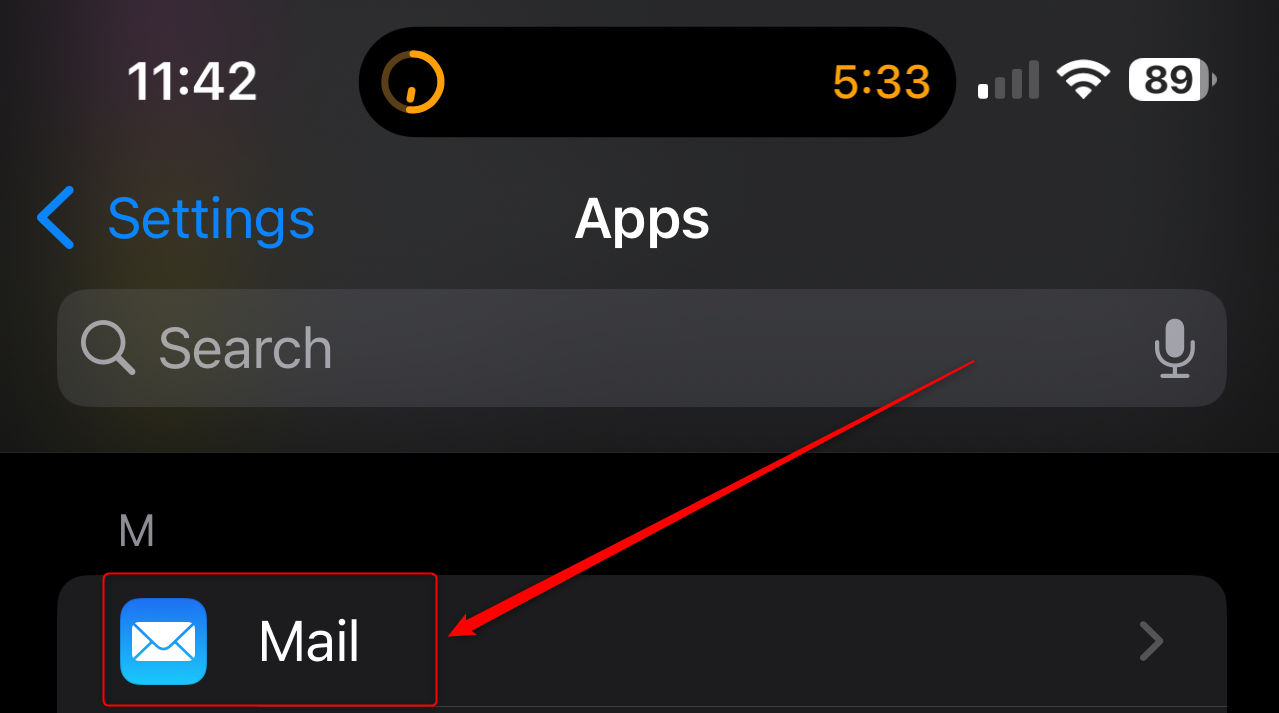
- Swipe down to Apps at the bottom of the settings home page.

- In the list of apps, locate the Mail app and tap it.
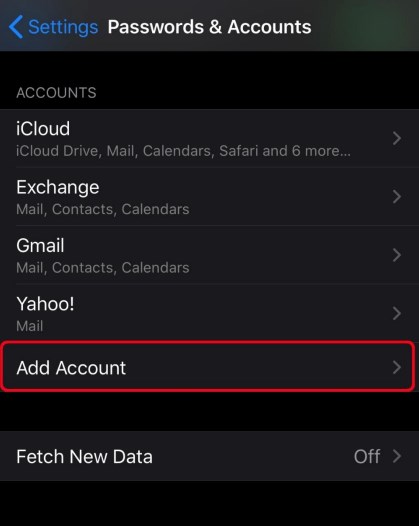
- Tap Mail Accounts from towards the top.

- Select the Add Account option.
- Select the Other option on the screen.

- Select the Add Mail Account option.

- Enter your account information and when finished press the Next button:
• Name: The name you would like people to see
• Address: Your full email address
• Password: The password for your email account
• Description: The name of the account that will appear in the Mail app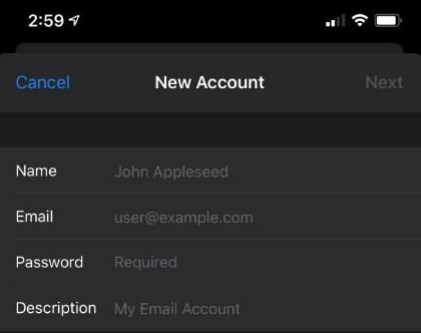
- Now, make sure the IMAP option is selected. Fill in the required fields if any are not
completed, and press the Next button when finished.
• Incoming Mail Server
o Host Name: The name of your mail server, if your domain is abc.com.au, it will
be “mail.abc.com.au”
o User Name: Your full email address
o Password: The password for your email account
• Outgoing mail server
o Host Name: The name of your mail server, if your domain is abc.com.au, it will
be “mail.abc.com.au”
o User Name: Your full email address
o Password: The password for your email account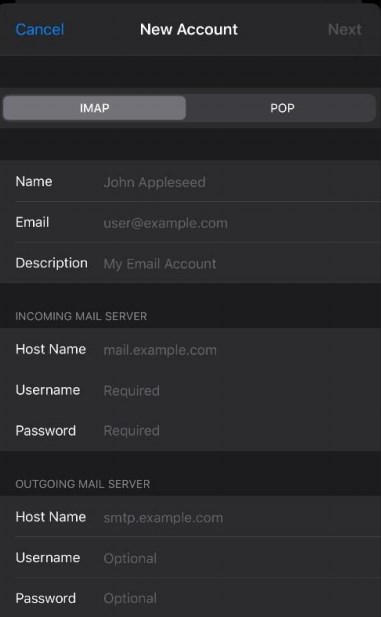
- Your iOS device will now say Verifying. Please wait
- If you get the Cannot Verify Server Identity popup window, click the Continue button.
(You may be asked this twice.) Your iOS device will now continue to say Verifying for a
while. Please wait. - When verification is done, select the items you want to synchronize with your email
account and then press the Save button. - That’s it! You will now be returned to the original setup screen where you will now see
your new email account.
