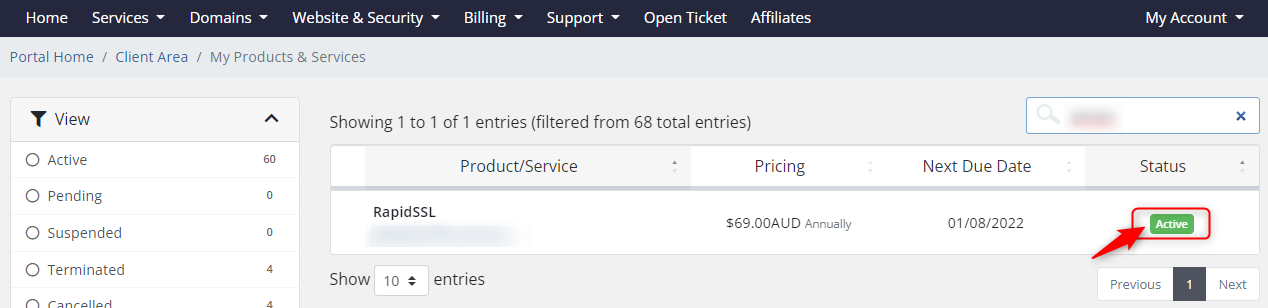
Log into your HA client area, choose your SSL from "Services," and then click the green active button.
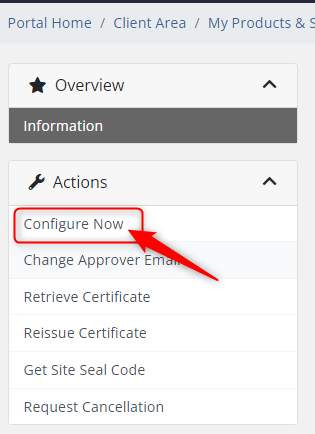
From the SSL screen, select "Configure Now."
Navigate to the domains cPanel and click the security tab to select "SSL/TLS."

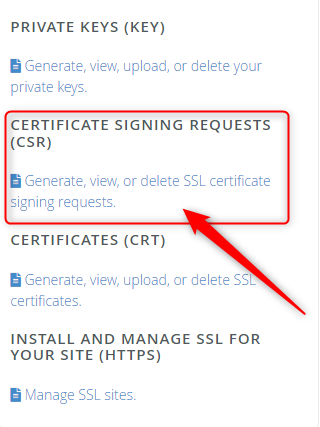
On the SSL/TLS page, click "Generate, view, or delete SSL certificate signing requests."
Complete the form's details, Password should be set to "password0" before clicking "Generate."
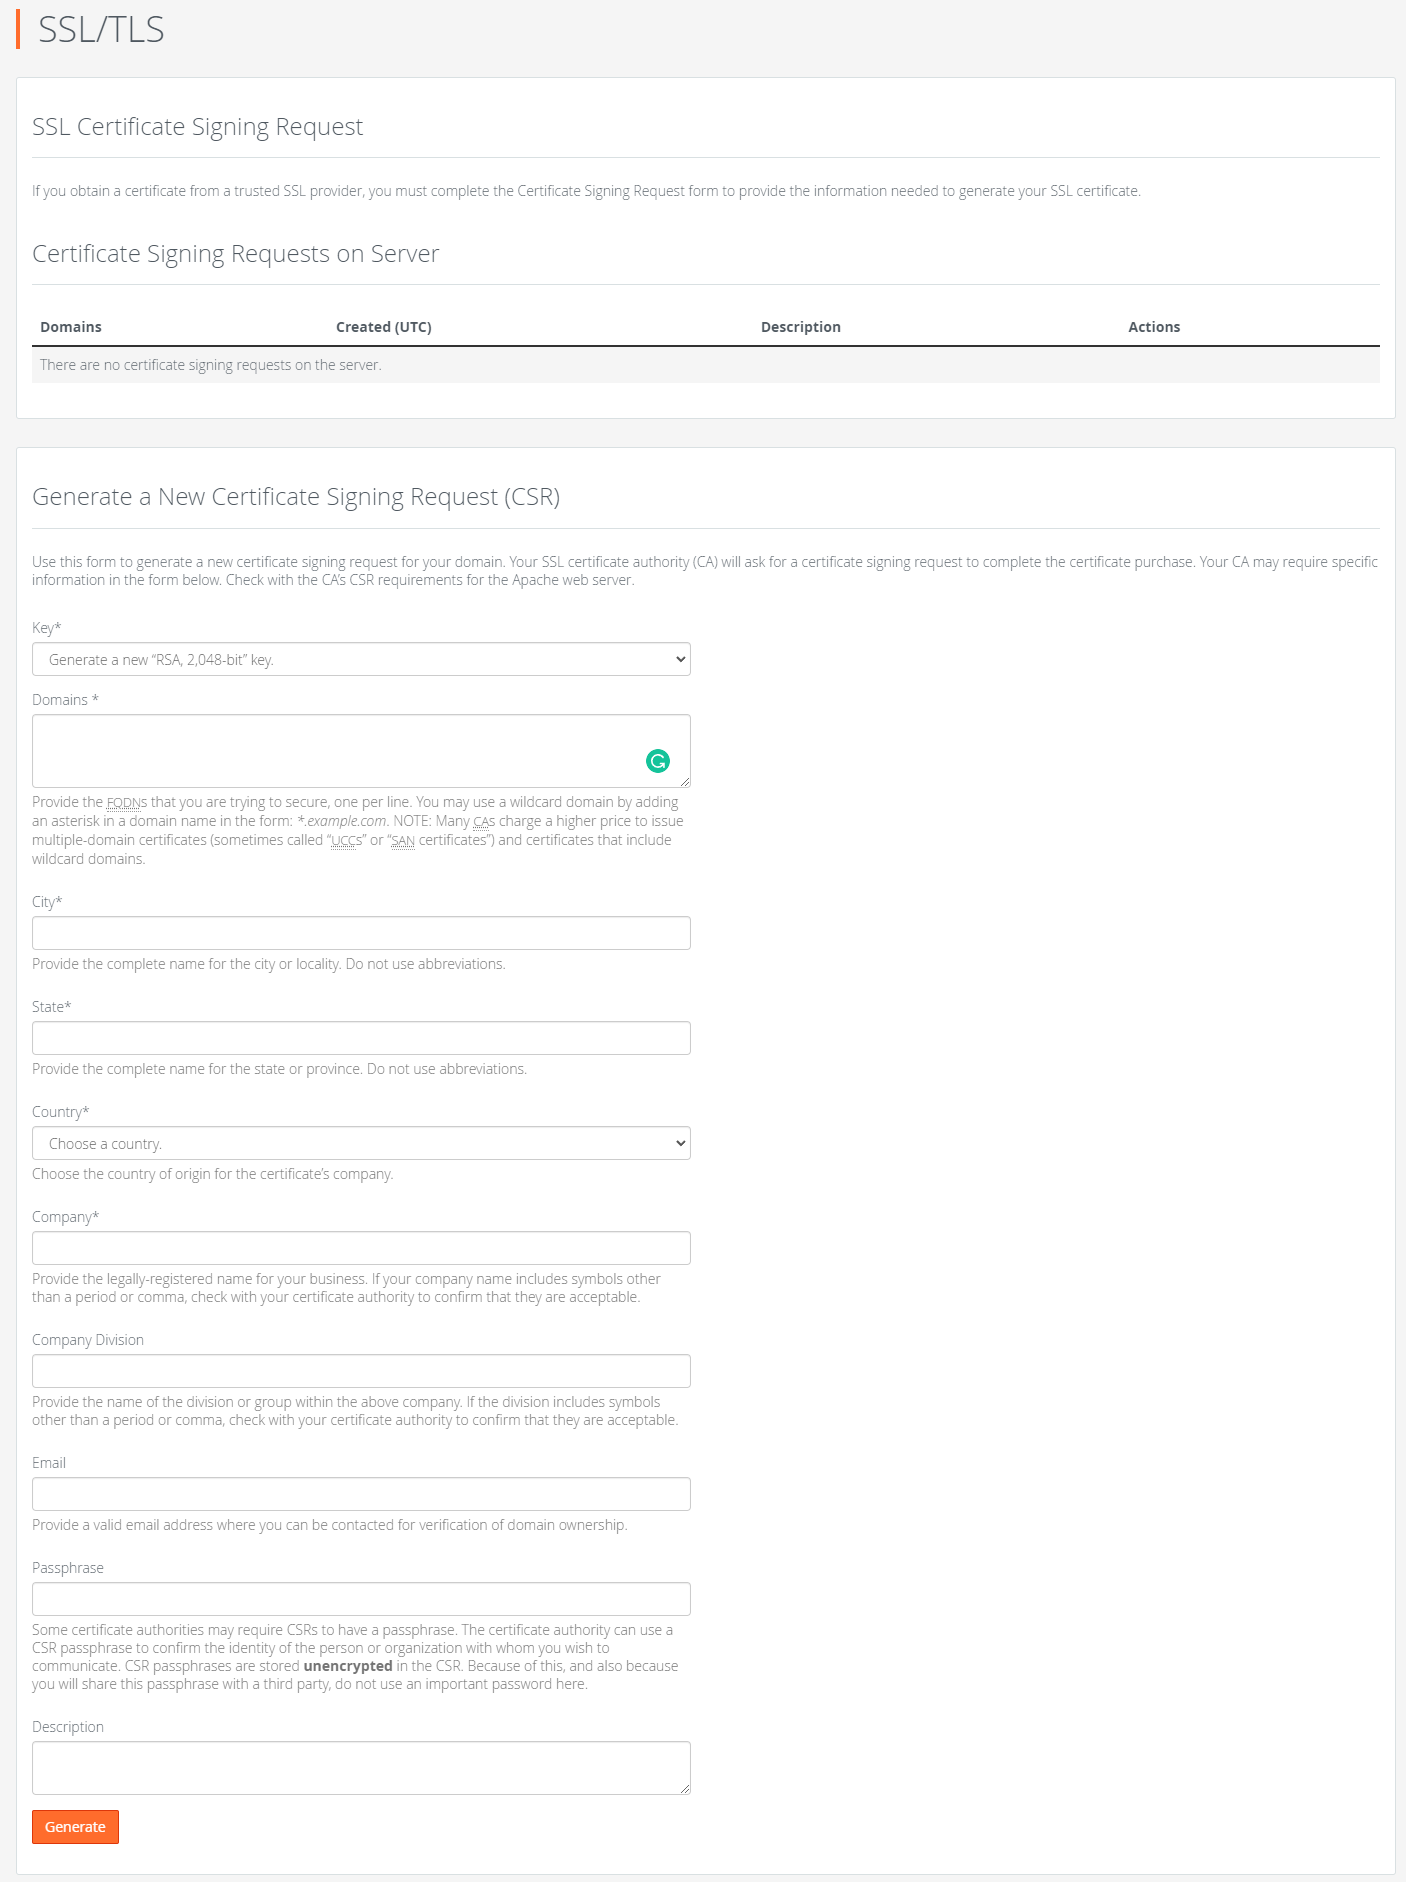
Copy the "Encoded Certificate Signing Request" once it has been generated.

Return to your HA client area, select "cPanel/WHM," post the CSR, and then fill out the form below.
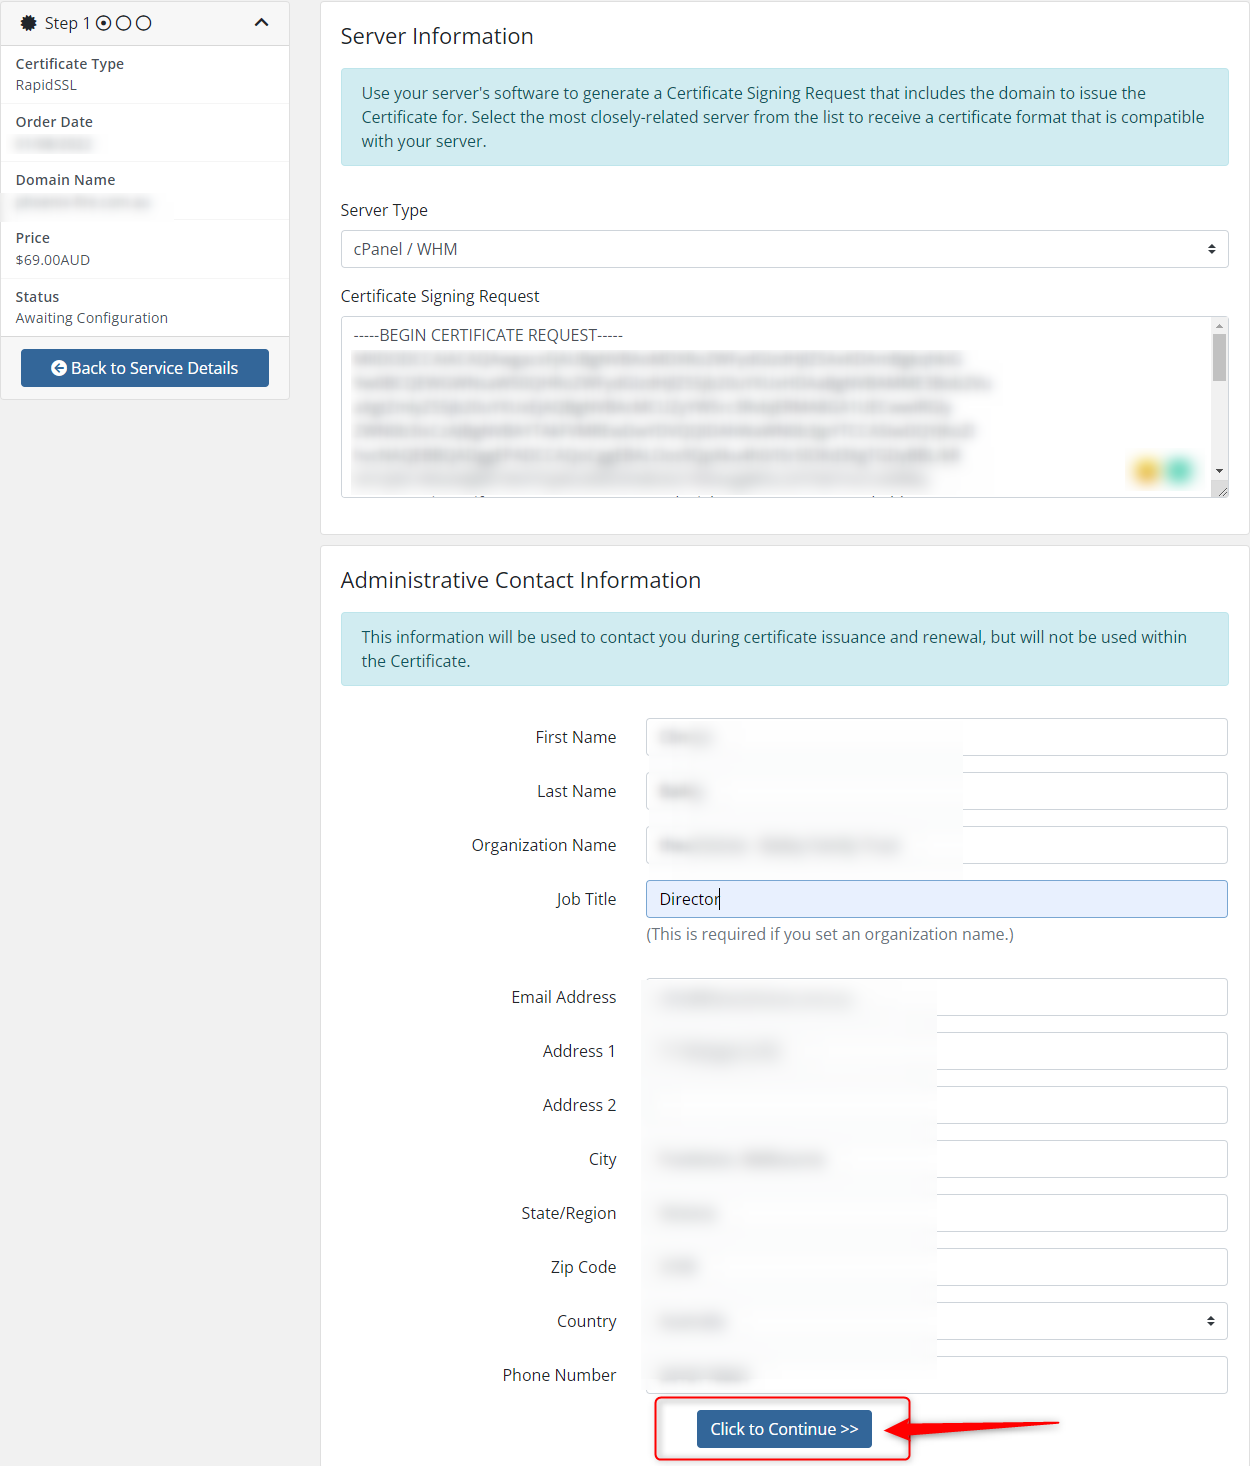
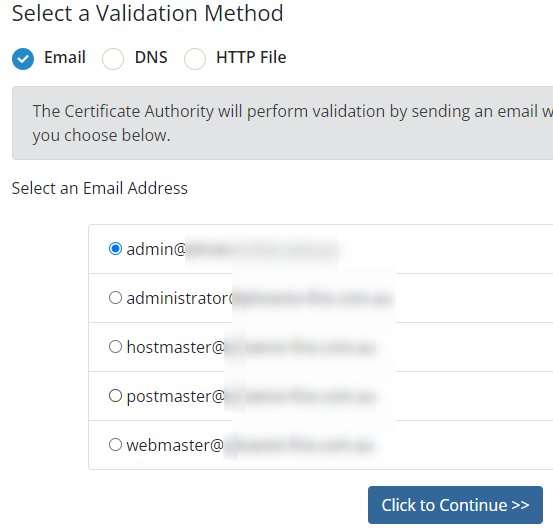
Select the method for validating the certificate.
Email is the most straightforward method. This will send an email to the specified address with a link to validate the data.
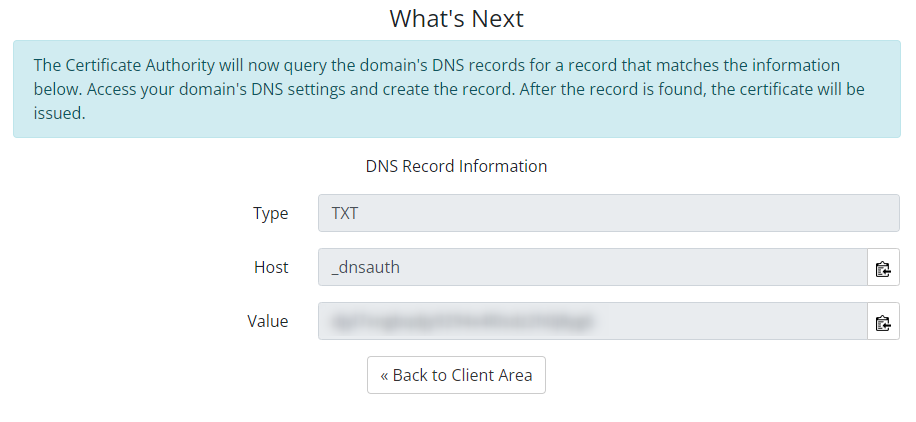
You must add the following DNS record to your hosting DNS zone when using the DNS TXT method.
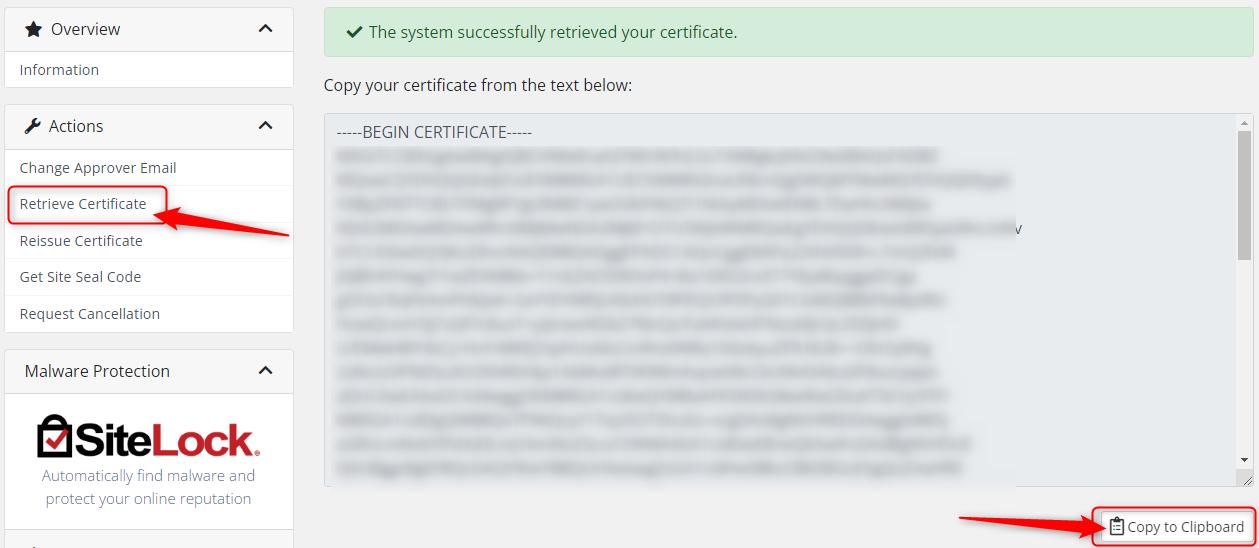
Now the certificate has now been issued. Copy the certificate after retrieving it from the left-hand side.
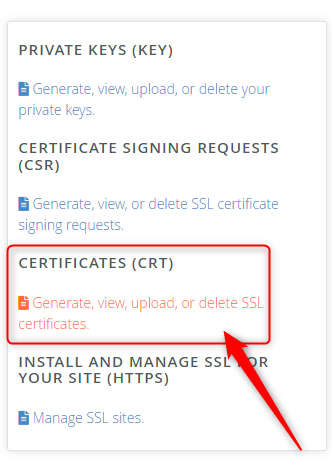
Return to cPanel and select "Generate, view, upload, or delete SSL certificates."
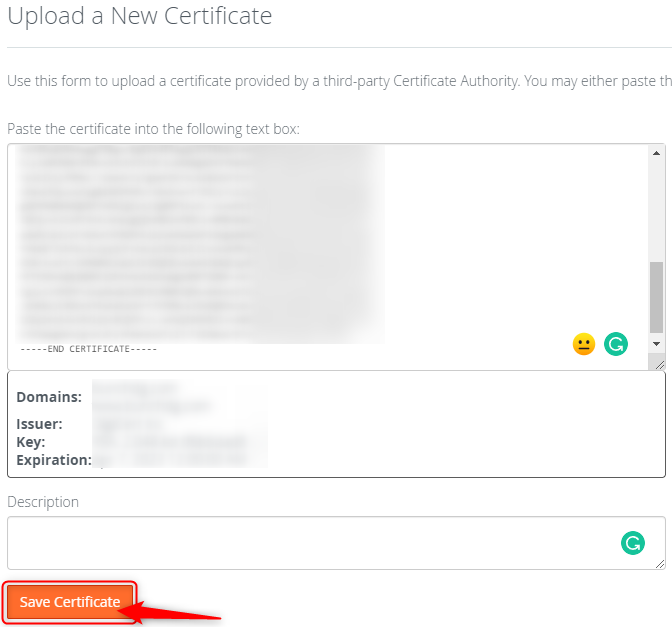
Paste the CRT and save the certificate.
The Certificate will now be on the server. However, you still need to install it!

If any fields are missing, select "AutoFill" and then "Install Certificate."

Now that the SSL has been installed, make sure that Force HTTPS is enabled in Domains.

